


DIY epoxy flooring advice
DIY Metallic Epoxy Floor: Is a Floor Kit Really a Good Idea?
DIY metallic epoxy floor kits can look attractive online, but installing
a good resin floor involves much more than pouring epoxy over concrete.
Surface preparation, repairs, moisture, mixing, working time, application
technique and curing can all affect the finished result.
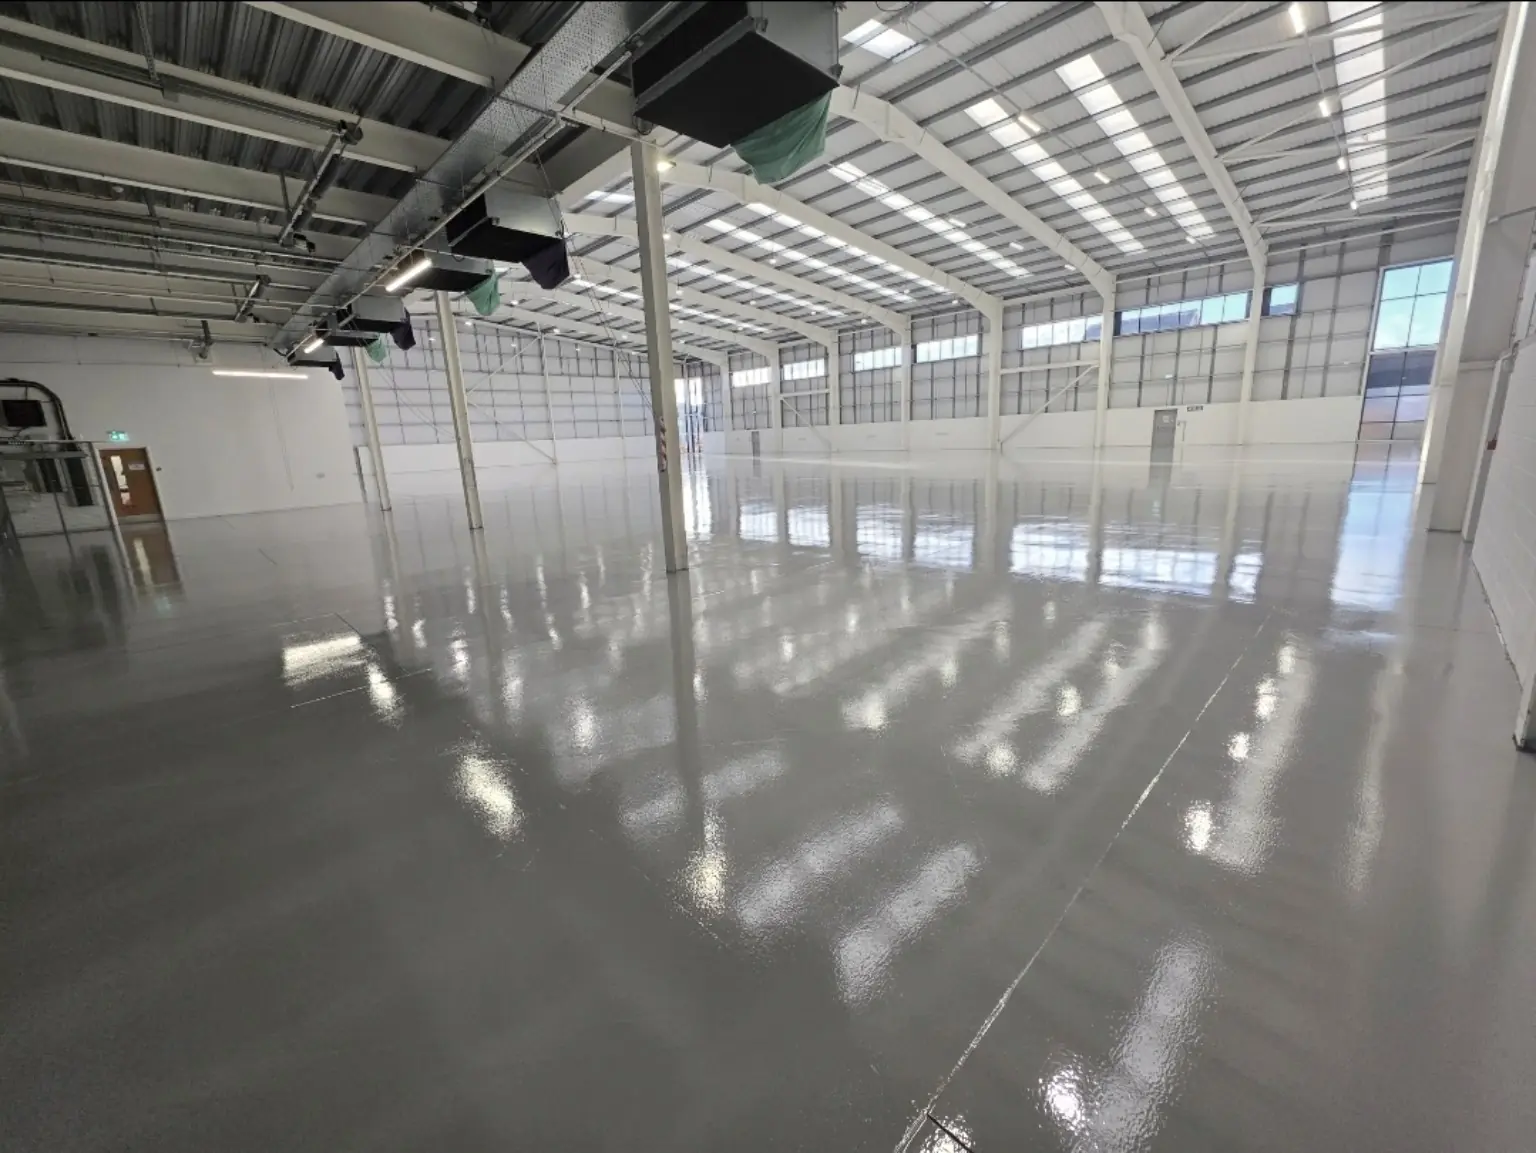
Is a DIY metallic epoxy floor a good idea?
It can be possible for a careful and experienced DIY user to install
some small epoxy flooring kits, but metallic epoxy is less forgiving
than ordinary decorating work.
The biggest risk is usually not the decorative metallic effect itself.
Problems often begin with inadequate preparation, contamination,
incorrect mixing, unsuitable concrete or running out of working time
once the resin has been mixed.
At a glance
DIY metallic epoxy flooring: what can go wrong?
A DIY kit can appear simple, but several parts of the process need to
come together correctly for the floor to perform and look as intended.
| Stage | What can go wrong | Why it matters |
|---|---|---|
| Preparation | Concrete is not prepared sufficiently | The resin may not bond correctly to the substrate |
| Contamination | Oil, grease, dust or old coatings remain | Contamination can affect adhesion and appearance |
| Repairs | Cracks and damaged areas are ignored | Problems underneath can remain visible or affect the new floor |
| Mixing | Components are mixed incorrectly | The material may not cure or perform as intended |
| Working time | The installer works too slowly | Mixed material can begin curing before application is complete |
| Metallic effect | Pigment movement becomes uneven or uncontrolled | The final appearance can differ greatly from the intended design |
| Curing | The floor is used too soon | Premature traffic can damage the developing surface |
Why DIY kits look simple
Why does DIY epoxy flooring look easier than it really is?
Online videos often focus on the most visually impressive part of the job:
pouring resin and manipulating metallic pigments.
What is less obvious is the amount of work that may happen before the
decorative resin is applied.
Depending on the existing floor, the project may require:
- Inspection of the concrete
- Removal of previous coatings
- Cleaning and degreasing
- Mechanical preparation
- Crack and concrete repairs
- Dust removal
- Priming
- Accurate mixing
- Controlled application
- Suitable curing conditions
The finished metallic layer may only be one part of the complete flooring system.
The most important stage
Surface preparation can make or break a DIY epoxy floor
Epoxy flooring needs a suitable surface to bond to.
Applying resin over dust, weak concrete, contamination or an unsuitable
previous coating can create problems regardless of how good the decorative
finish looks immediately after installation.
Existing floors should be checked for:
- Oil and grease contamination
- Loose or weak concrete
- Previous paints and coatings
- Cracks
- Holes and indentations
- Old repairs
- Moisture-related concerns
Professional resin flooring projects commonly use mechanical preparation
methods such as diamond grinding or shot blasting where suitable for the
substrate and flooring system.
Simply sweeping the concrete and applying epoxy is not the same as
professionally preparing a floor.
Mixing and working time
Epoxy starts reacting once the components are mixed
Epoxy systems normally contain separate components that react when combined.
Once mixed, the installer has a limited working period before the material
begins to cure.
This means there may not be much time to stop and correct mistakes once
installation has started.
The correct mix ratio, mixing method, temperature and working time depend
on the particular product.
Manufacturer instructions and technical data should always take priority
over generic advice from online videos.
Creating the design
The metallic effect is difficult to reproduce exactly
Metallic epoxy uses pigments that move through the resin during installation.
This movement is what creates the flowing, marbled and pearlescent appearance
associated with metallic floors.
It also means the installer needs to control the material while it is still
workable.
Too much manipulation, too little movement or inconsistent application can
produce a finish very different from the example shown on a kit or video.
Even professional metallic floors are naturally individual rather than
identical copies of a sample.
Read our main guide:
Metallic Epoxy Flooring: Designs, Advantages & Disadvantages
.
Work safely
Read the product safety information before using any epoxy kit
Resin products should be handled in accordance with the manufacturer’s
instructions, technical data and safety information.
Depending on the product and task, this can include consideration of:
- Suitable gloves and protective clothing
- Eye protection
- Ventilation
- Dust generated during concrete preparation
- Safe use of grinders and preparation equipment
- Product storage
- Mixing and application conditions
- Keeping other people away from the working area
Always follow the specific manufacturer’s safety data and application
instructions for the products and equipment being used.
Typical process
What does a DIY epoxy flooring project involve?
The exact build-up depends on the manufacturer’s system, but a project may
include several separate stages rather than one simple coat.
1. Assess the existing floor
Check the concrete condition, previous coatings, visible damage,
contamination and other defects before deciding how to proceed.
2. Prepare the substrate
Carry out the preparation required by the flooring manufacturer and
substrate condition.
3. Complete necessary repairs
Cracks, holes, indentations and damaged areas may require suitable repair
before the decorative system is applied.
4. Apply the specified primer
If the chosen system includes a primer, apply it in accordance with the
manufacturer’s instructions.
5. Mix and apply the resin
Follow the specified mix ratio, mixing method, coverage and working time.
6. Create the metallic finish
Pigment movement and application technique create the final decorative effect.
7. Apply any specified finishing coat
Some systems use an additional finishing layer depending on the required
appearance and performance.
8. Allow the system to cure
Keep foot and vehicle traffic off the floor until the manufacturer confirms
the relevant curing period has been achieved.
DIY or professional?
When should you consider professional epoxy flooring installation?
Large floor area
Larger floors increase the amount of material that must be mixed,
transported and applied within limited working times.
Damaged concrete
Extensive cracks, weak areas, old coatings or contamination can make
preparation significantly more involved.
Commercial premises
Business environments often need flooring selected around traffic,
cleaning, downtime and operational requirements.
Forklift traffic
Industrial vehicle traffic should be considered as part of the flooring
specification rather than relying on a decorative DIY kit.
Exact appearance matters
Decorative metallic finishes require controlled application if appearance
is an important part of the project.
Limited shutdown time
Commercial and industrial projects often need installation planned around
a fixed operating or shutdown programme.
DIY savings
Does a DIY epoxy floor really save money?
Lower labour cost is one of the main reasons people consider DIY flooring kits.
However, the complete project cost can also include:
- Concrete preparation equipment
- Dust extraction
- Repairs
- Primer
- Epoxy materials
- Metallic pigments
- Application tools
- Protective equipment
- Finishing coats
- Waste material
The potential saving should therefore be weighed against the cost of correcting
a floor if the preparation, appearance or curing does not go as planned.
Common mistakes
Common DIY epoxy flooring problems
Problems can vary between products and substrates, but common causes of
disappointing results can include:
- Insufficient concrete preparation
- Applying resin over contamination
- Ignoring cracks or weak concrete
- Incorrect component ratios
- Poor mixing
- Working beyond the material’s usable time
- Uneven application thickness
- Uncontrolled metallic pigment movement
- Dust or debris entering the wet floor
- Using the floor before it has cured sufficiently
A decorative floor can make these issues particularly noticeable because
appearance is usually one of the main reasons for choosing metallic epoxy
in the first place.
Not sure whether to DIY?
Send SRS photos of the existing floor first
If you are unsure about the concrete condition or whether an epoxy
system is suitable, send us some basic project information before
making a decision.
Continue your research
Related epoxy flooring services and advice
Frequently asked questions
DIY metallic epoxy flooring FAQs
Can a beginner install a metallic epoxy floor?
Some DIY kits are marketed at beginners, but success still depends
on the substrate, preparation, mixing, working time and application.
Metallic finishes can be less forgiving than ordinary decorating work.
Do I need to prepare concrete before applying epoxy?
Yes. The substrate needs to be suitable for the flooring system.
Dust, contamination, weak concrete and previous coatings can all
affect adhesion.
Can I apply epoxy over painted concrete?
The existing coating should be assessed first. Applying a new
system over a poorly bonded or unsuitable coating can cause problems.
How difficult is metallic epoxy flooring?
Metallic epoxy involves preparation, accurate mixing, controlled
application and management of the decorative pigments while the
material remains workable.
Can I copy a metallic epoxy design exactly?
Usually not. Metallic pigments move through the resin during
installation, so every finished floor can have natural variation.
How long before I can walk on a DIY epoxy floor?
This depends on the specific product, temperature and curing
conditions. Always follow the manufacturer’s stated curing times.
Does DIY epoxy flooring save money?
It can reduce labour cost, but equipment, preparation, repairs,
materials and the potential cost of correcting mistakes should
also be considered.
Can I use a DIY epoxy kit in a warehouse?
Warehouse flooring should be specified around traffic, forklifts,
abrasion, impact and substrate condition. A decorative DIY kit
should not automatically be assumed suitable for industrial duty.
Should I use a professional epoxy flooring contractor?
Professional installation is worth considering where the area is
large, the concrete is damaged, traffic is demanding, appearance
is critical or the project has limited shutdown time.
Can SRS assess an existing floor before installation?
Yes. Send SRS photographs, approximate dimensions, site location,
existing floor information and intended use so the flooring
requirement can be reviewed.
DIY or professional epoxy flooring?
Make the decision before buying the flooring kit
Send Superior Resin Solutions photographs of the existing floor,
approximate dimensions and details of how the area will be used.
We can review the information and discuss whether professional resin
flooring is the more practical route.